Build Your Own Classroom Library
My library is very kid-friendly and any aged child can learn to use it. Books are organized by topic, author and language. Each book is labeled with a sticker that matches the book box it goes into. The classroom library is then organized into sections so kids can find just what they are looking for.
You can quickly create a great library that will be sure to entice your students. It takes a little work to get it started, but once your system is in place, it literally runs itself!...YOU do all the initial work, but the KIDS maintain it!
You can quickly create a great library that will be sure to entice your students. It takes a little work to get it started, but once your system is in place, it literally runs itself!...YOU do all the initial work, but the KIDS maintain it!
Step 1: Organize your books into categories.
Start small and general when you are first starting to organize your books. Dividing your library into two categories (Theme books and Author books) is a good place to start.
Theme books are books that follow a theme (fiction, non-fiction, animals, chapter, holidays, etc)
Author books can be organized by the number of books you have by a certain author.
As your library grows, you can create more categories to fit your needs.
***Originally I started out with just two categories: Theme Books (Fiction and Non-Fiction categories) and Author Books. As my library grew, I created more specific categories. (For example: I had a box of books labeled "Animals-Non-Fiction" when I first started. However, since I have accumulated a crazy amount of Non-fiction animal books, now I can separate those books into the specific animal category--Bears, Horses, Snakes, Sharks....).
The books in this part of my library are not leveled because I want these books read by ALL STUDENTS. I want them to love reading--if they can only choose from books at their level, they might get bored or discouraged. By allowing students to have a choice of any book, they explore topics and levels they might not have otherwise. Leveled readers are organized in a separate section of my library.
Step 2: Add a label to each book and identify the language.
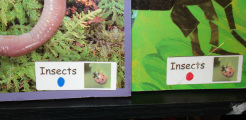
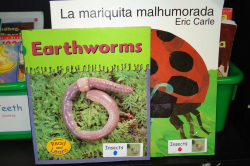
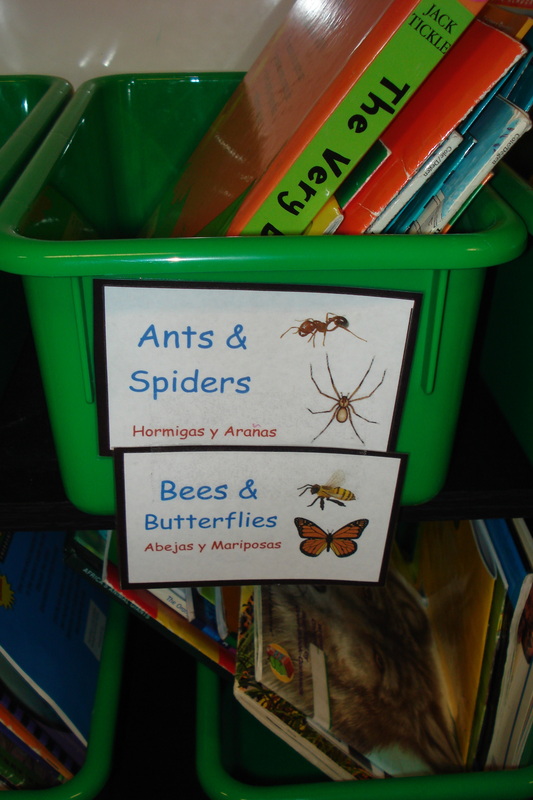
Each book has a label to identify in which box it belongs. The label is also used to identify the language. Spanish is red and English is blue. I simply draw a colored dot on the label.
The words and picture on the label match the word and picture on the box label. In this way, students are easily able to see which books belong in which boxes. I keep English and Spanish books together in the same theme box. If a student wants to read an insect book, she may go to one box and find books in either language.
Step 3: Tape the label and spine.
To protect the label and hold the book together longer, I tape the bottom part of the spine. I use clear packing tape. I tape over the label and about 2 inches on the back cover and inside front cover.
Then I label my books with my name on the upper inside cover. This makes it very easy to see which books are mine and which books belong to the school.
Then I label my books with my name on the upper inside cover. This makes it very easy to see which books are mine and which books belong to the school.
Step 4: Match the books to the box label.
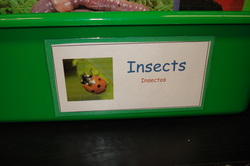
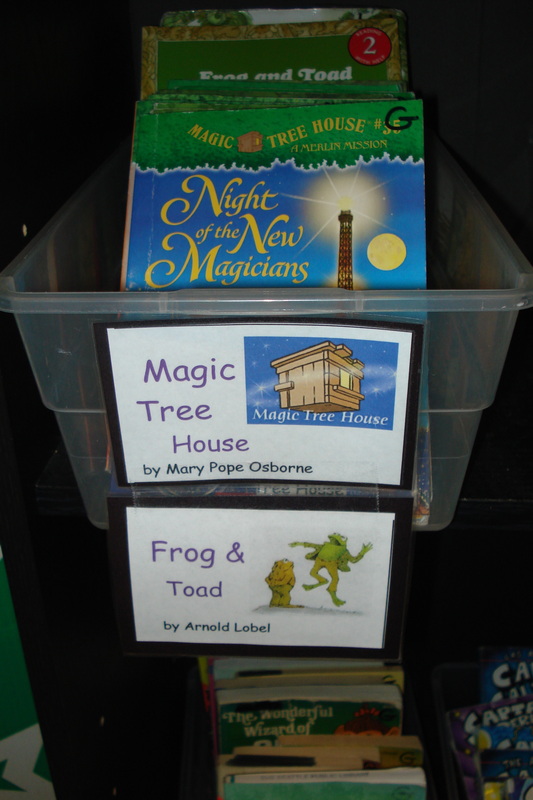
The box label is a larger version of the book label and it is taped to the outside of the box. The box labels are in both English and Spanish.
I print the labels onto regular computer paper, then glue them to construction paper and laminate them.
**I use the boxes from Lakeshore Learning because I like the look of the boxes and I want my library to be visually appealing when you first walk into my classroom....but any type or color of basket will work.
Here is the color coding for my boxes:
Green=Theme
Yellow=Author
Clear=Chapter books
Red=Spanish books
Blue=English books
Classroom Library Photos--1st and 2nd grade
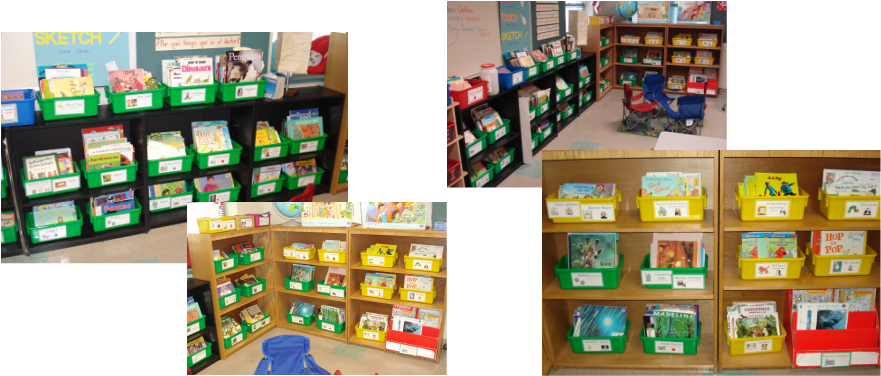
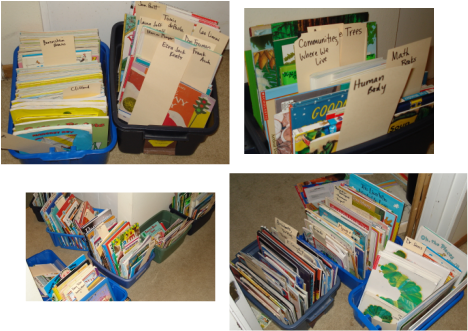
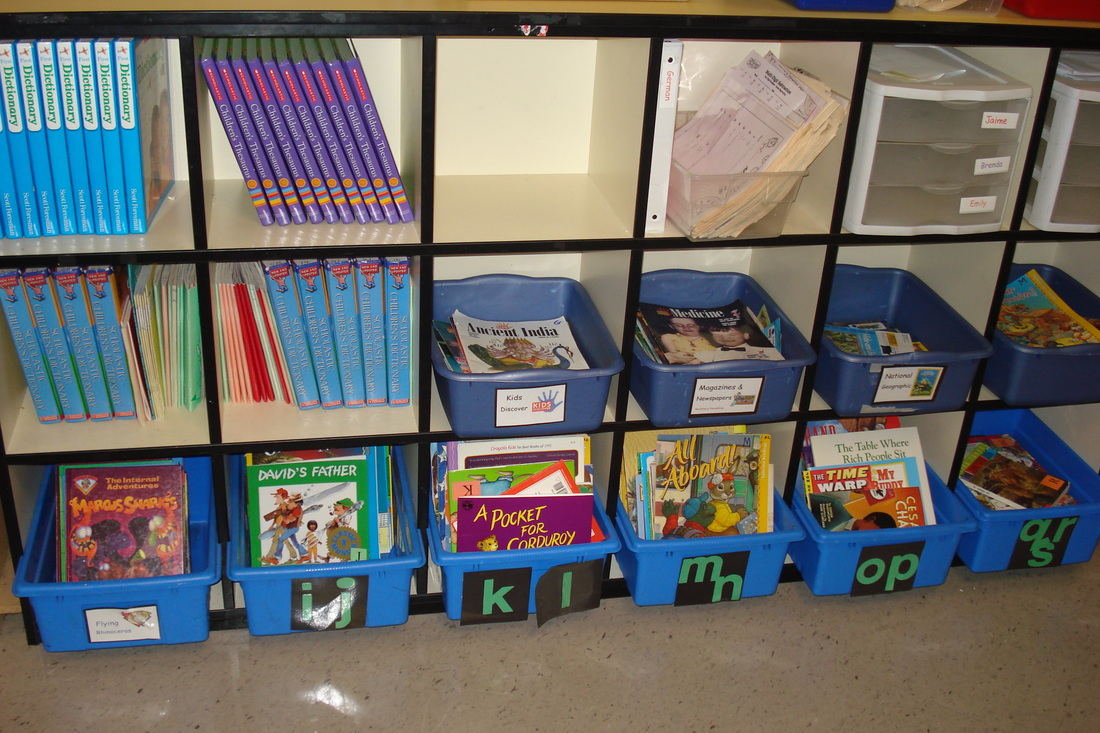
Your finished library might look something like this. All the theme books are together, all the author books are together. The books are easy to access and inviting for students. When I only have a few books for a certain topic, I group them with a similar theme. For example, I grouped "School" and "Friends" together in one box since I did not have many books from either theme. I also grouped some Authors--two per box--when there were not as many books. As your library grows, you can add more boxes or split themes according to your needs. For primary grades, I like the book boxes to be sideways so students can see the book covers as they browse.
Classroom Library Photos--3rd & 4th Grade
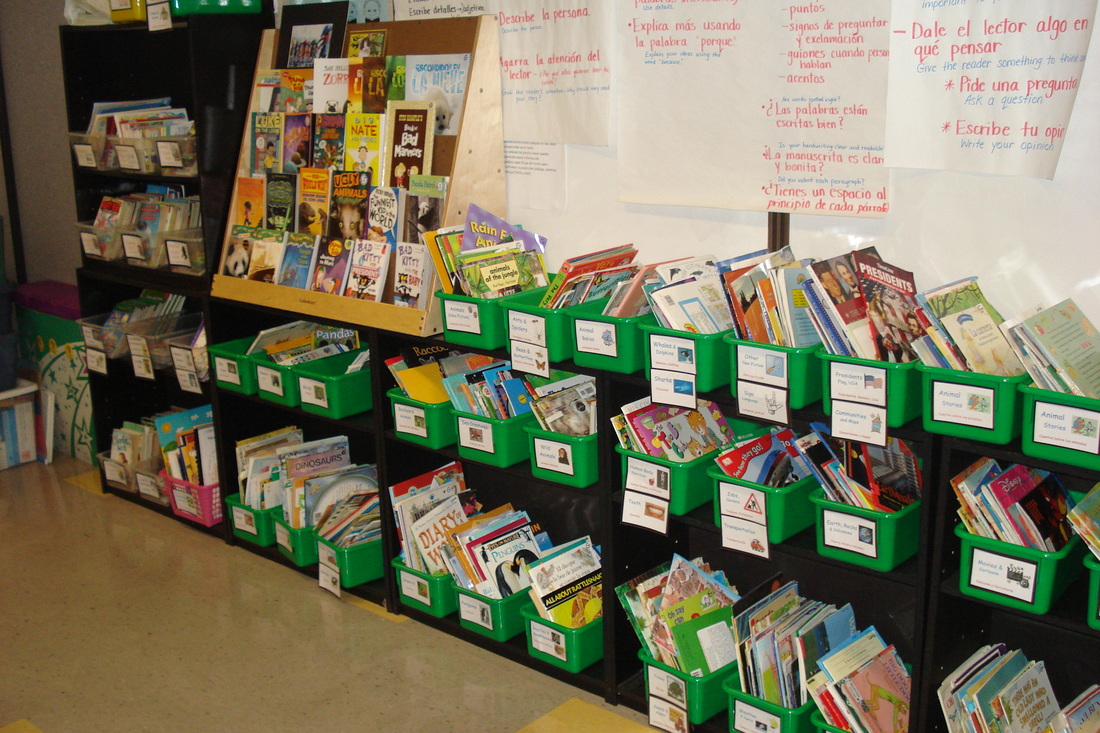
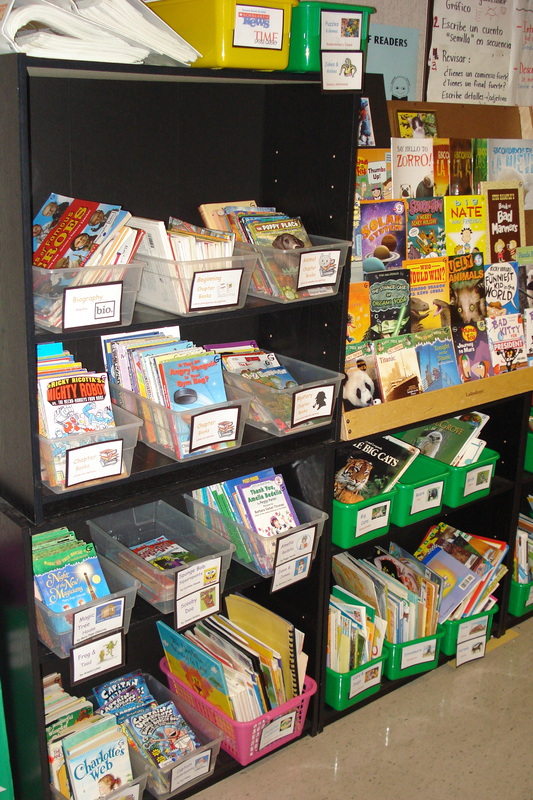
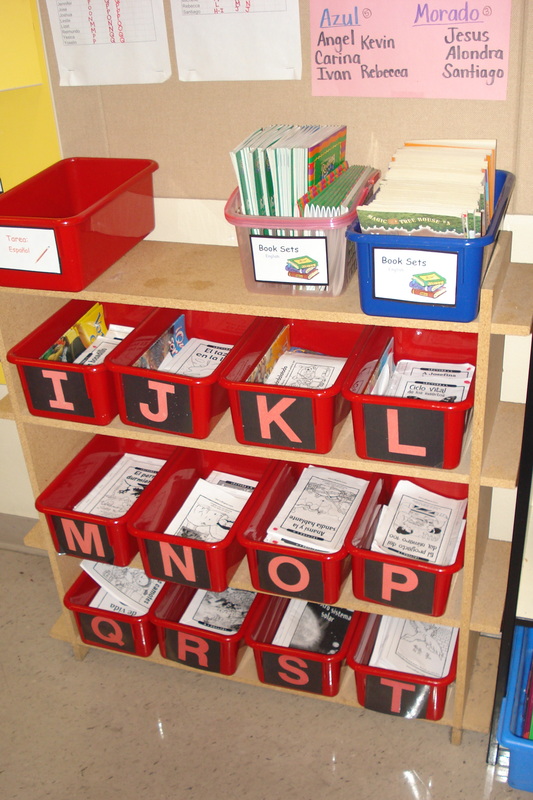
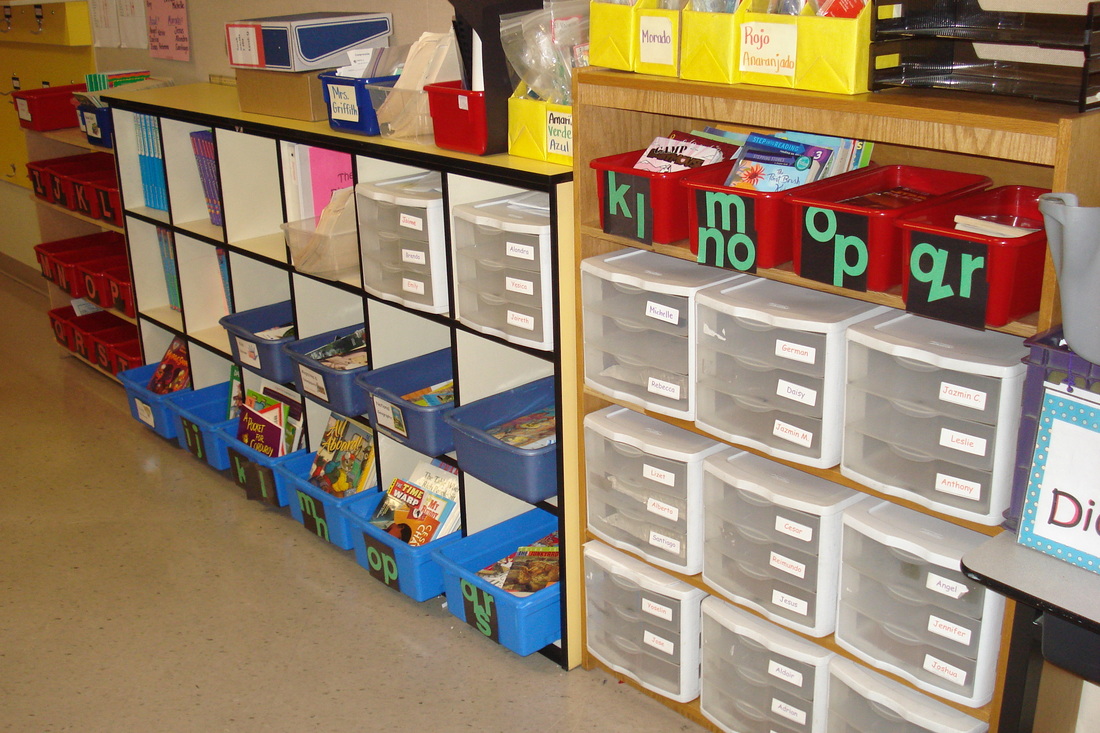
Here is an example of my 3rd and 4th grade library. I changed the orientation of the boxes to allow for more boxes to fit on the shelves and to better accommodate chapter books. It is organized by Theme, Author, Chapter Books, Collections, Magazines and Leveled Library. The Theme books are separated into Fiction and Non-Fiction on the shelves.


Classroom Library: Home |
Setting Up |
Using the Library |
Buy Now! |